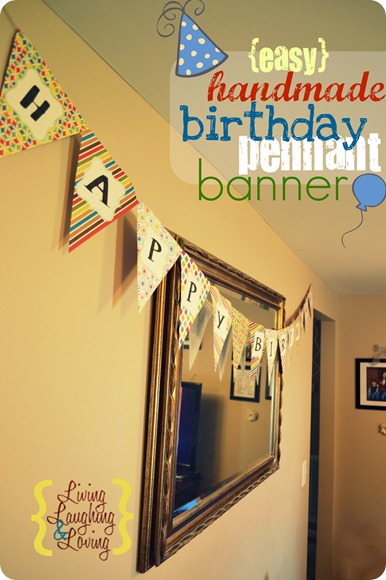
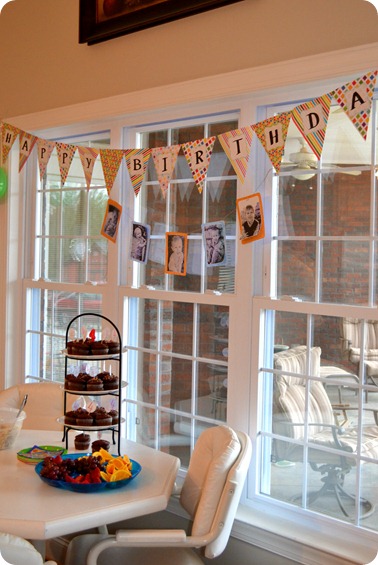
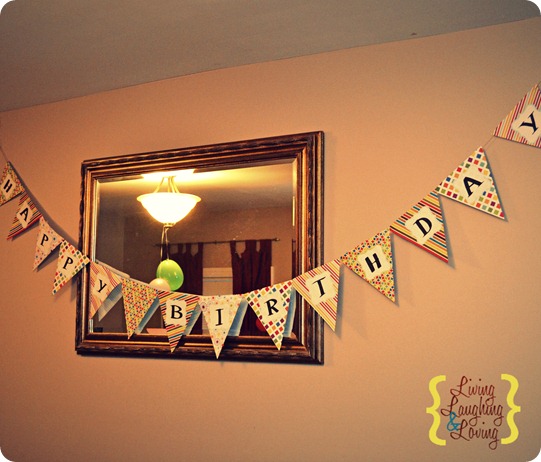
Pinterest inspired great things of me this year for Wade’s birthday, not the least of which was the amazing Happy Birthday Banner.
It was pretty easy to make, and I am finally coming back a month after the fact to give you the full tutorial!
I found great Birthday Bunting inspiration and told you I even found this free printable one that was very cute. I just didn’t have the ink in my printer to spare for ALL that color. I don’t know about you, but I am in a perpetual state of low ink somehow. Of course, I try to squeeze every little last bit out of a cartridge, so I print until you can barely recognize a thing.
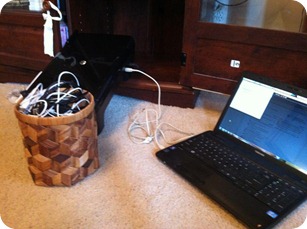
My printer and I have a very volatile, love/hate relationship. It is “supposedly” wireless which is pretty awesome in our cozy house, but it OFTEN goes offline, and I have to reconfigure it to search for our network. Then I get to punch in our password on a tiny screen on tiny buttons.
You may have seen the pic I shared on facebook of a rough HOUR or so I had with it last Friday.
Because of my printer ink issues, I wanted to find a better way than trying to print 85 pages of color.
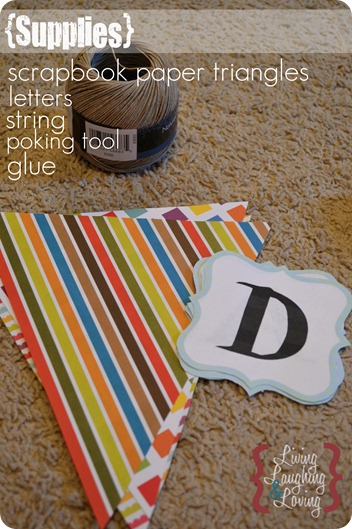
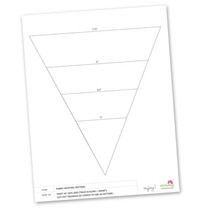
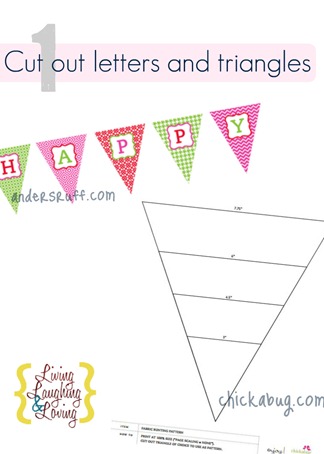
I decided to cut out my pennant triangles on scrapbook paper and found a super fab template that made it incredibly easy.
You can use it as a template to create FOUR different sized banners! Woot! I know cutting out triangles isn’t all that hard. But, I attempted the “wing it version” which didn’t end well. :) This takes out all the guesswork and mis-measuring.
Step 1… Make and cut your letters and triangles. I didn’t actually take any pics of this part, so I just faked one. :)
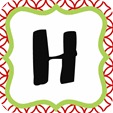
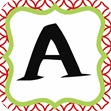
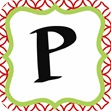
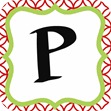
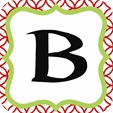
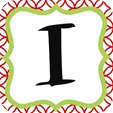
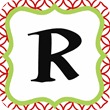
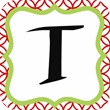
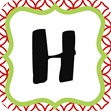
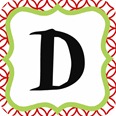
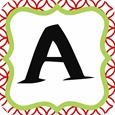
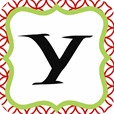
I like the cute little frame around the letters in the free printable banner, so I downloaded it and grabbed a cropped screen shot of the blank letter that was included in between the two words. Then I opened that in picnik and added my Happy Birthday letters one at a time and saved.
{Feel free to grab these letters, if you want to do the same. Just click once to enlarge and then right click and save each image to your computer.}
You could also customize this for ANY occasion worthy of a banner! :) My sister in law is going to work on one for a Baby Shower coming up!
Then I printed and cut around the swirly frame. Voila!
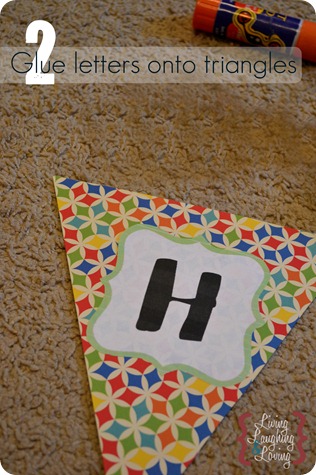
Step 2… Glue your letters onto triangles.
You’ll see how sad my ink was if you compare the entirely different shades of green going on in the two pictures.
My survival plan for all my printable party prep was to print only one or two pages at a time and then let the printer recover for a minute or two before trying again. :)
Whatever works, right?
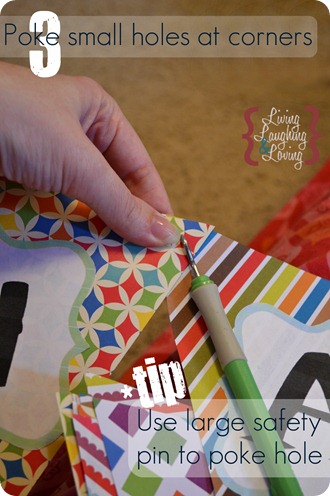
Step 3… Poke holes at your top corners.
Notice I said POKE not PUNCH. Now if you have a super cool teeny hole punch then you are awesome, and I am jealous, and feel free to punch away.
But if your only hole punch is the normal sized one used for regular boring utilitarian hole punching, then we don’t want to use that. It will leave way too big of a hole for small to medium sized ribbon. You don’t want to see any part of the hole, you just want it to seem as if the string is appearing from nowhere like maaaagic.
I have this cool cricut sharp pointy tool that I usually use, but you could also use the pin part of a large safety pin to poke out your hole too. I usually press it through and then wiggle it back and forth and side to side to really get room for my string to get through.
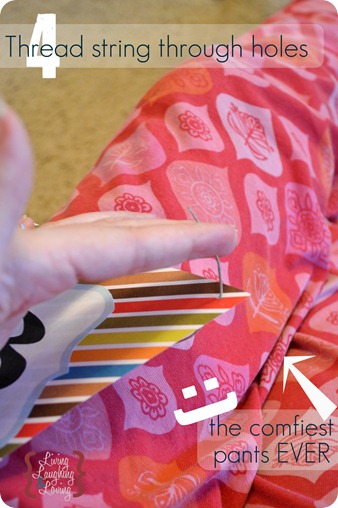
Step 4… Thread string through your holes. {Like my awesome pants, btw?}
I did one continuous string for my banner, but it was ginormous, so one for each word would have worked better.
I learned to pull and pull and pull a big long piece of string through at first because it was much easier than running out of length when you are halfway through and having to pull the string all the way through 85 letters, one teeny hole at a time. Just saying. Learn from my mistakes. :)
I made my corners overlap, but that depends on your preference. I liked how it looked, but it did make it harder to fold up nicely.
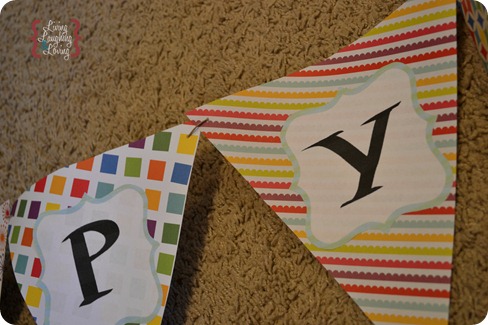
See the teeny holes? No, you don’t, do you? The string is just magically there!!
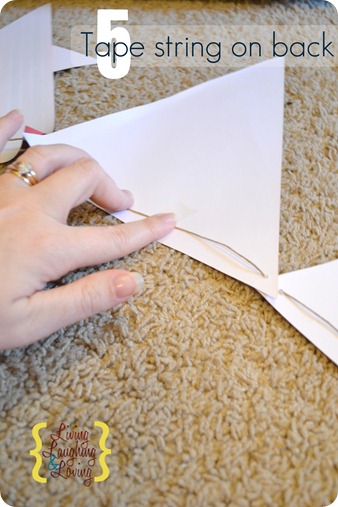
Step 5… Tape down your string a bit on the backside, to try to keep it in place.
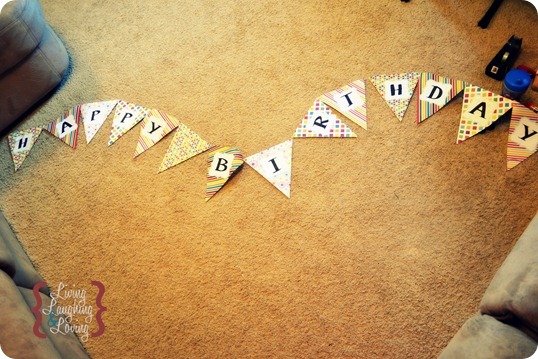
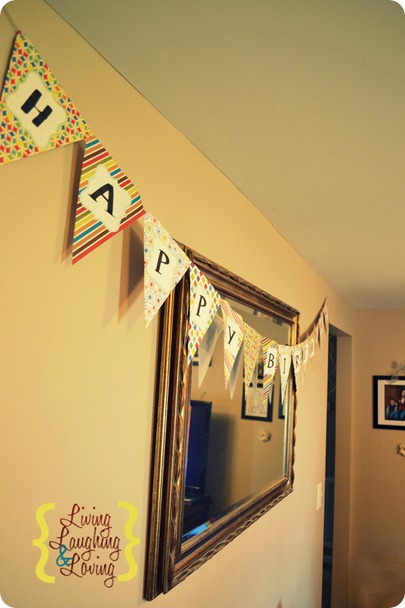
And ta-da!
We are done!
I loved how it turned out, and it ended up not being all that hard!
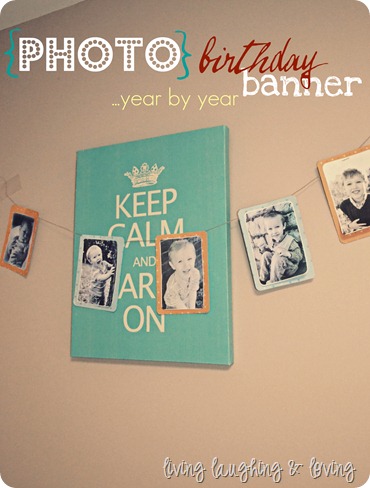
And I can’t forget the other birthday banner I made too… which has a picture to remind us of each year of Wade’s crazy life. :)
Please notice all the pics in this one are black & white. Artistic impression, you ask?
Not quite. The result of the no ink epidemic. :)
With just FIVE easy steps, making your own party banner may be just the perfect touch for your next party!!
Are you just as pinspired as me but just lack the printer ink?? :)
*Sometimes I link up at these parties…Weekend Bloggy Link up, Tatertots & Jello, House of Hepworths,Bowl Full of Lemons,Organize & Decorate Everything, Not Just a Housewife, Funky Junk Interiors, Somewhat Simple, Shabby Creek Cottage,No Minimalist Here, Skip to my Lou,Today’s Creative Blog, the 36th Avenue, Thrifty Décor Chick, Home Stories A-Z, Five Days Five Ways, How to Nest for Less, Six Sisters Stuff, and Someday Crafts. You should check ‘em out!!












This is so cute! And thanks for the hole tip…now I know what was so wrong with the last banner I made!
These are cute! I stumbled upon your blog while searching for blogs that deserve an award. and decided yours deserved the One Lovely Blog award so check it out at
http://ourdaysatca.blogspot.com/2012/04/awarded-to-you.html
love this banner … and the banner with pics thru the years is a great idea too!
I love it, thanks for sharing the tutorial. This will definitely come in handy for my kids b-day. And I love the black and white pictures they turn out really nice even if they were not supposed to be that way :)
Everything looks so cute! Thanks for sharing your fun ideas! We hope you’ll be back to our “Strut Your Stuff Saturday”. We loved having you! -The Sisters
Love the banner and the cute pattern paper. Also love the idea adding pictures.
Love this idea! I will have to try it!
[…] is the Easy and Fab Birthday Bunting Tutorial. It is possible to have a unique and impressive birthday banner of your very own. I […]
Thanks for posting! And thanks for post the link to the original banner. I had to use the blank letter so I could make my son’s name.
Easy peasy!
I love the letters they are awesome but I wanted to know how I could get the same style but other letters. I just need 2 letters to finish the name but I cant find the same style you have. please help
Gracie, you could save the image of one of the letters, then upload to picnik and use the white paintbrush to take out the black letter. Then you could use that as your blank template to add whatever letters in whatever font you want. Good Luck! Hope I’m not too late in responding for the birthday. If so, I’m so sorry!