Having a beautifully set table is something new and different for me.
It’s definitely a luxury when you’re living in a smaller space.
I took the plunge decorating my holiday table, and I’ve been {sort of} keeping it up ever since. I say “sort of” because there are many times when the placemats and chargers stay stacked together and not beautifully displayed. Because our table gets LOTS of use and that is a good thing, right?
My friend, Christina, is the one that inspired me to tackle decorating my table and she’s the one that reminded me of an oldie but goodie… upcycling paper tubes as napkin rings!
I had all I needed for my decorated table except for napkin rings! So inspired by upcoming company, I decided to do a spur of the moment, very last minute napkin ring project.
As in, the kids were all awake, and I stood over the kitchen counter. :)
Here’s what you need…
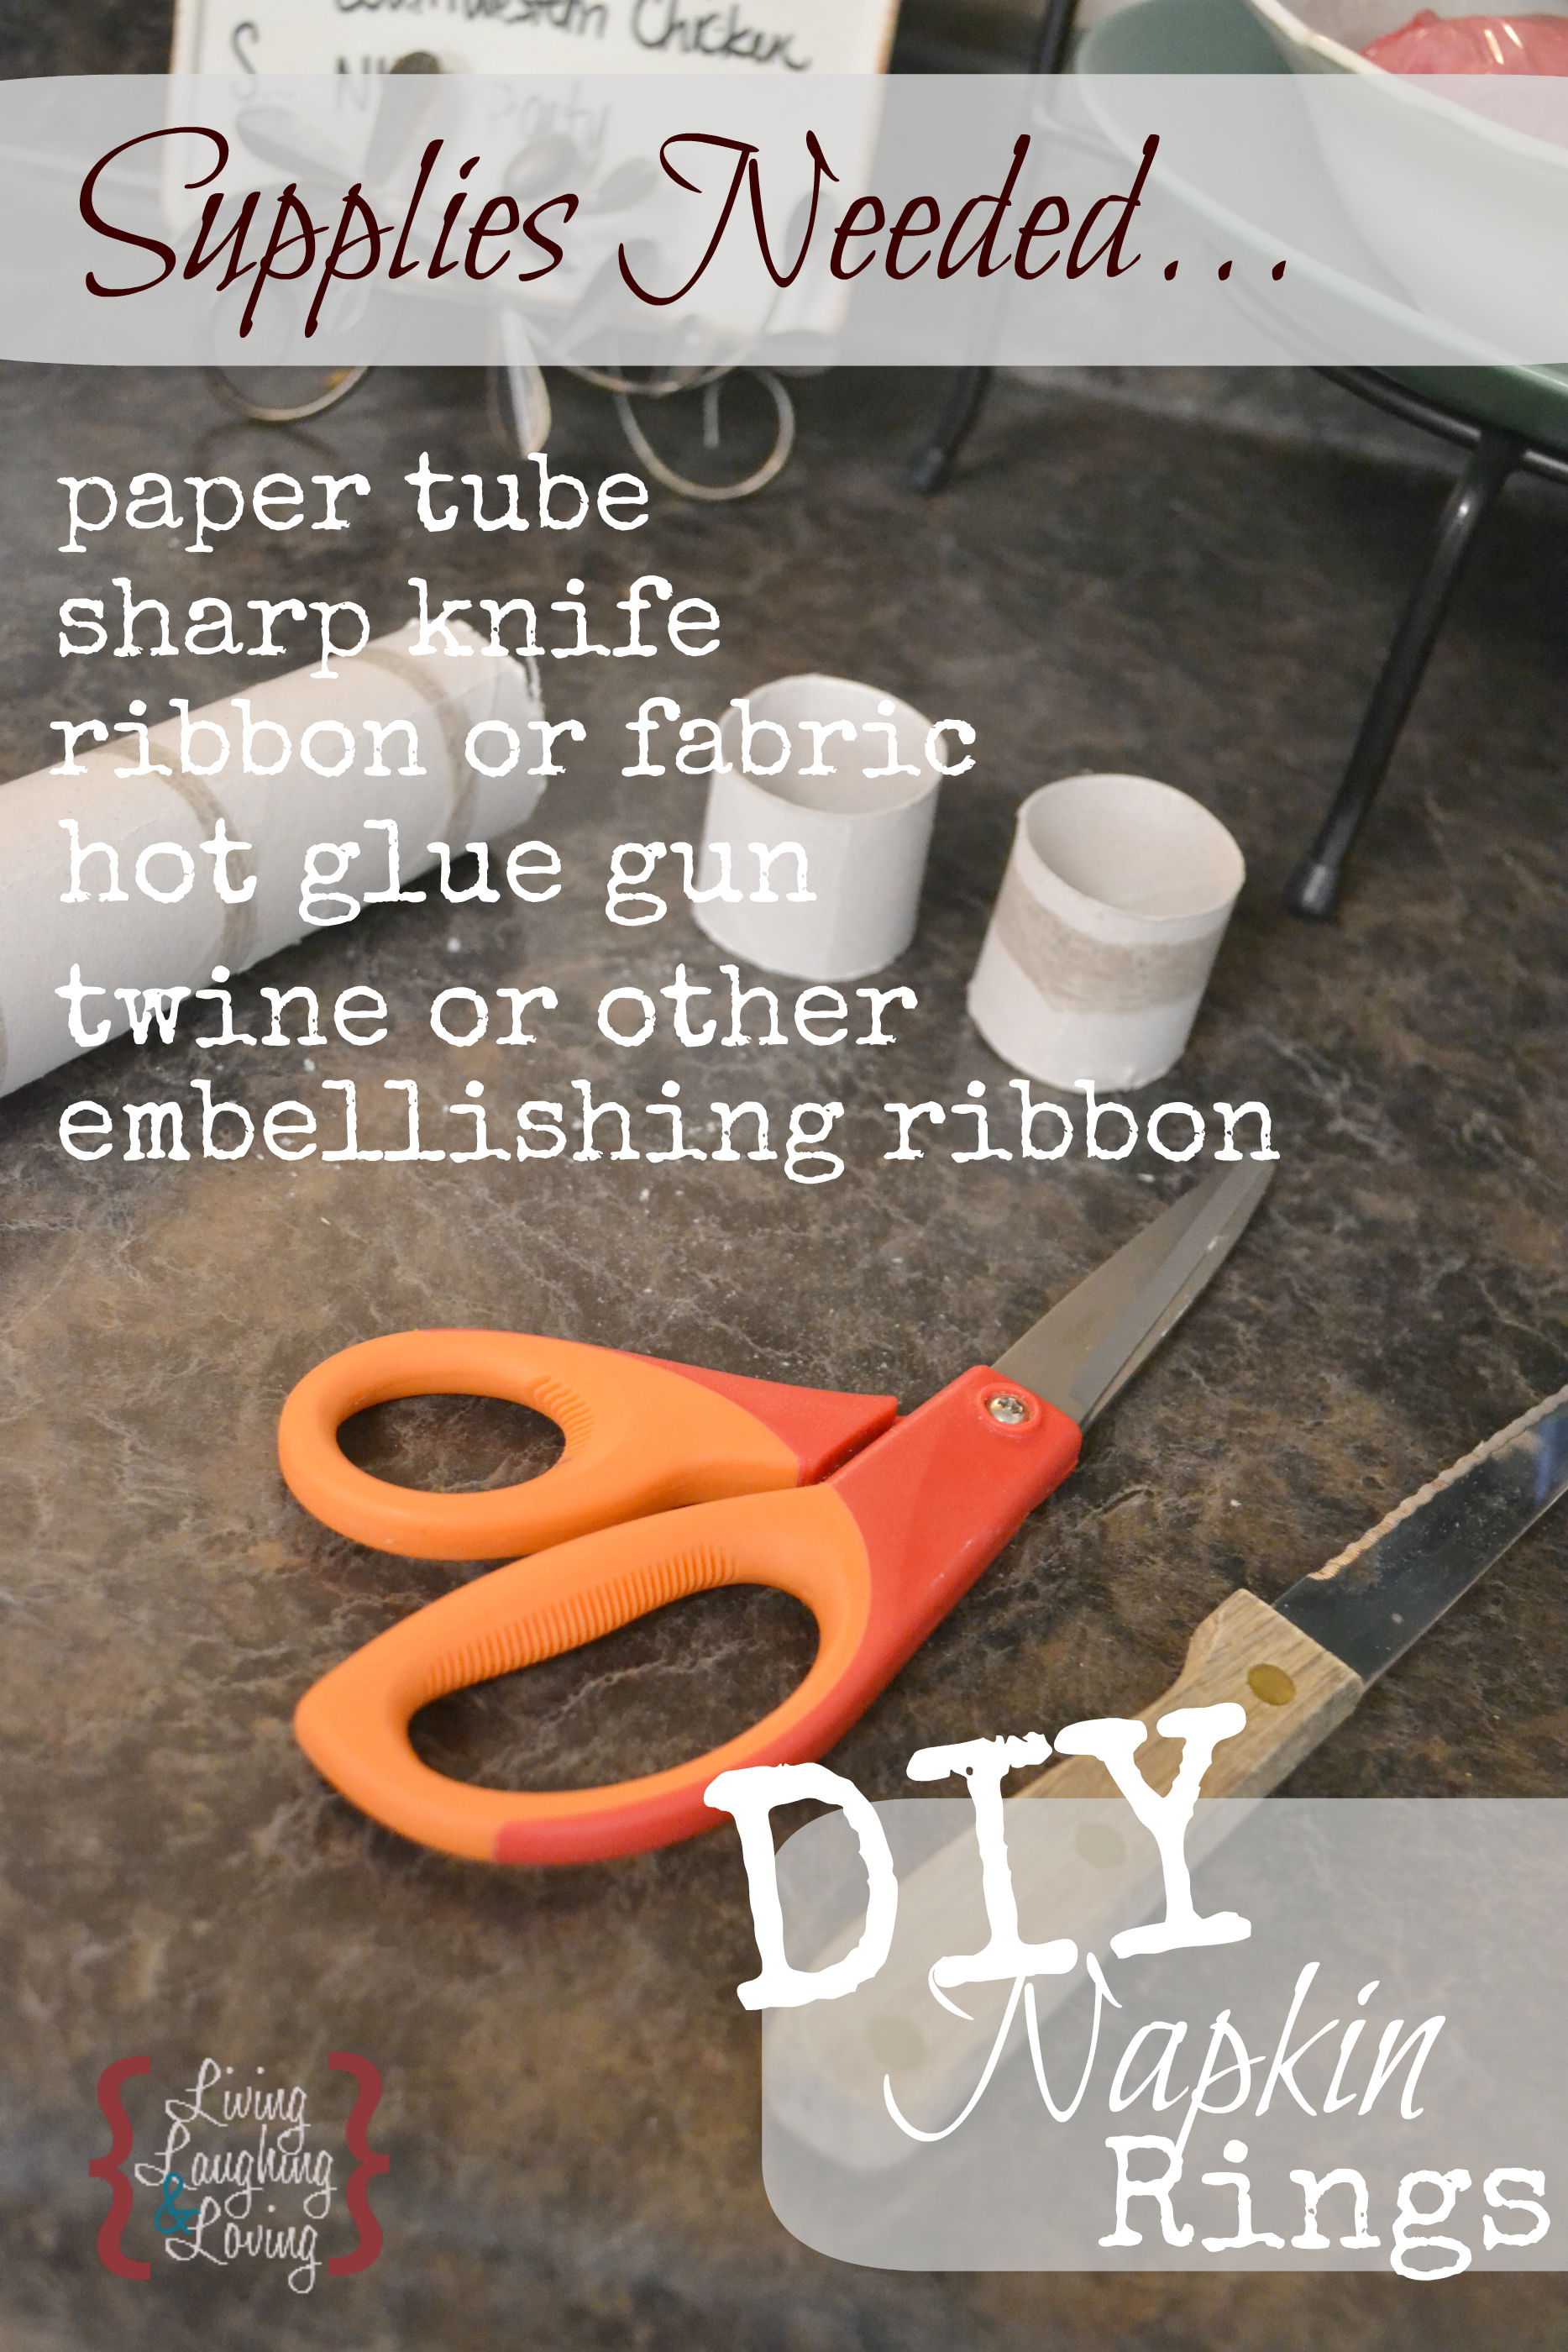
I just took my sharp knife and sort of sawed my way through the paper towel tube. Then I wrapped the ribbon around it and hot glued it all down.
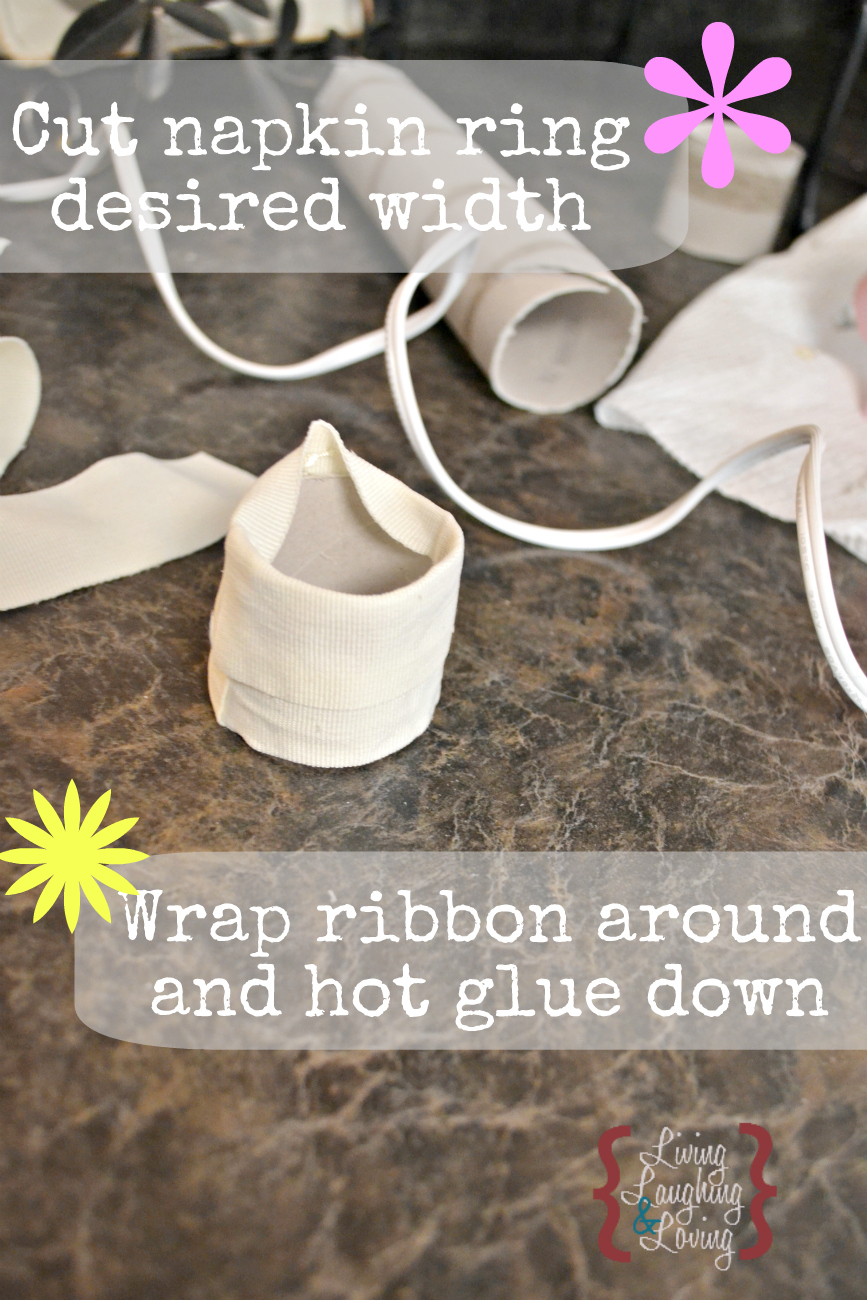
I didn’t have ribbon wide enough to use, so I had to overlap two sections to completely cover the width of the tube. This is the type of project that I wish I had this super cool hot glue gun finger cover to protect myself from scalding hot glue burns.
This was pretty quick though, and in no time I had both rings knocked out!! The last step was tying my twine around the middle!
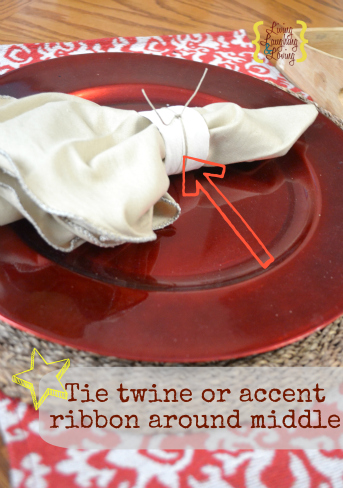
And we’re done!!
My decorated table is so very much onthecheap too. Here’s my deets…
- Red & White damask placemats {$1 ea at Mighty Dollar}
- Rattan Round Placemat {99 cents ea at GW a while back}
- Red Chargers {$1 ea at Walmart}
- Napkins {around 10 cents or so at Target holiday clearance}
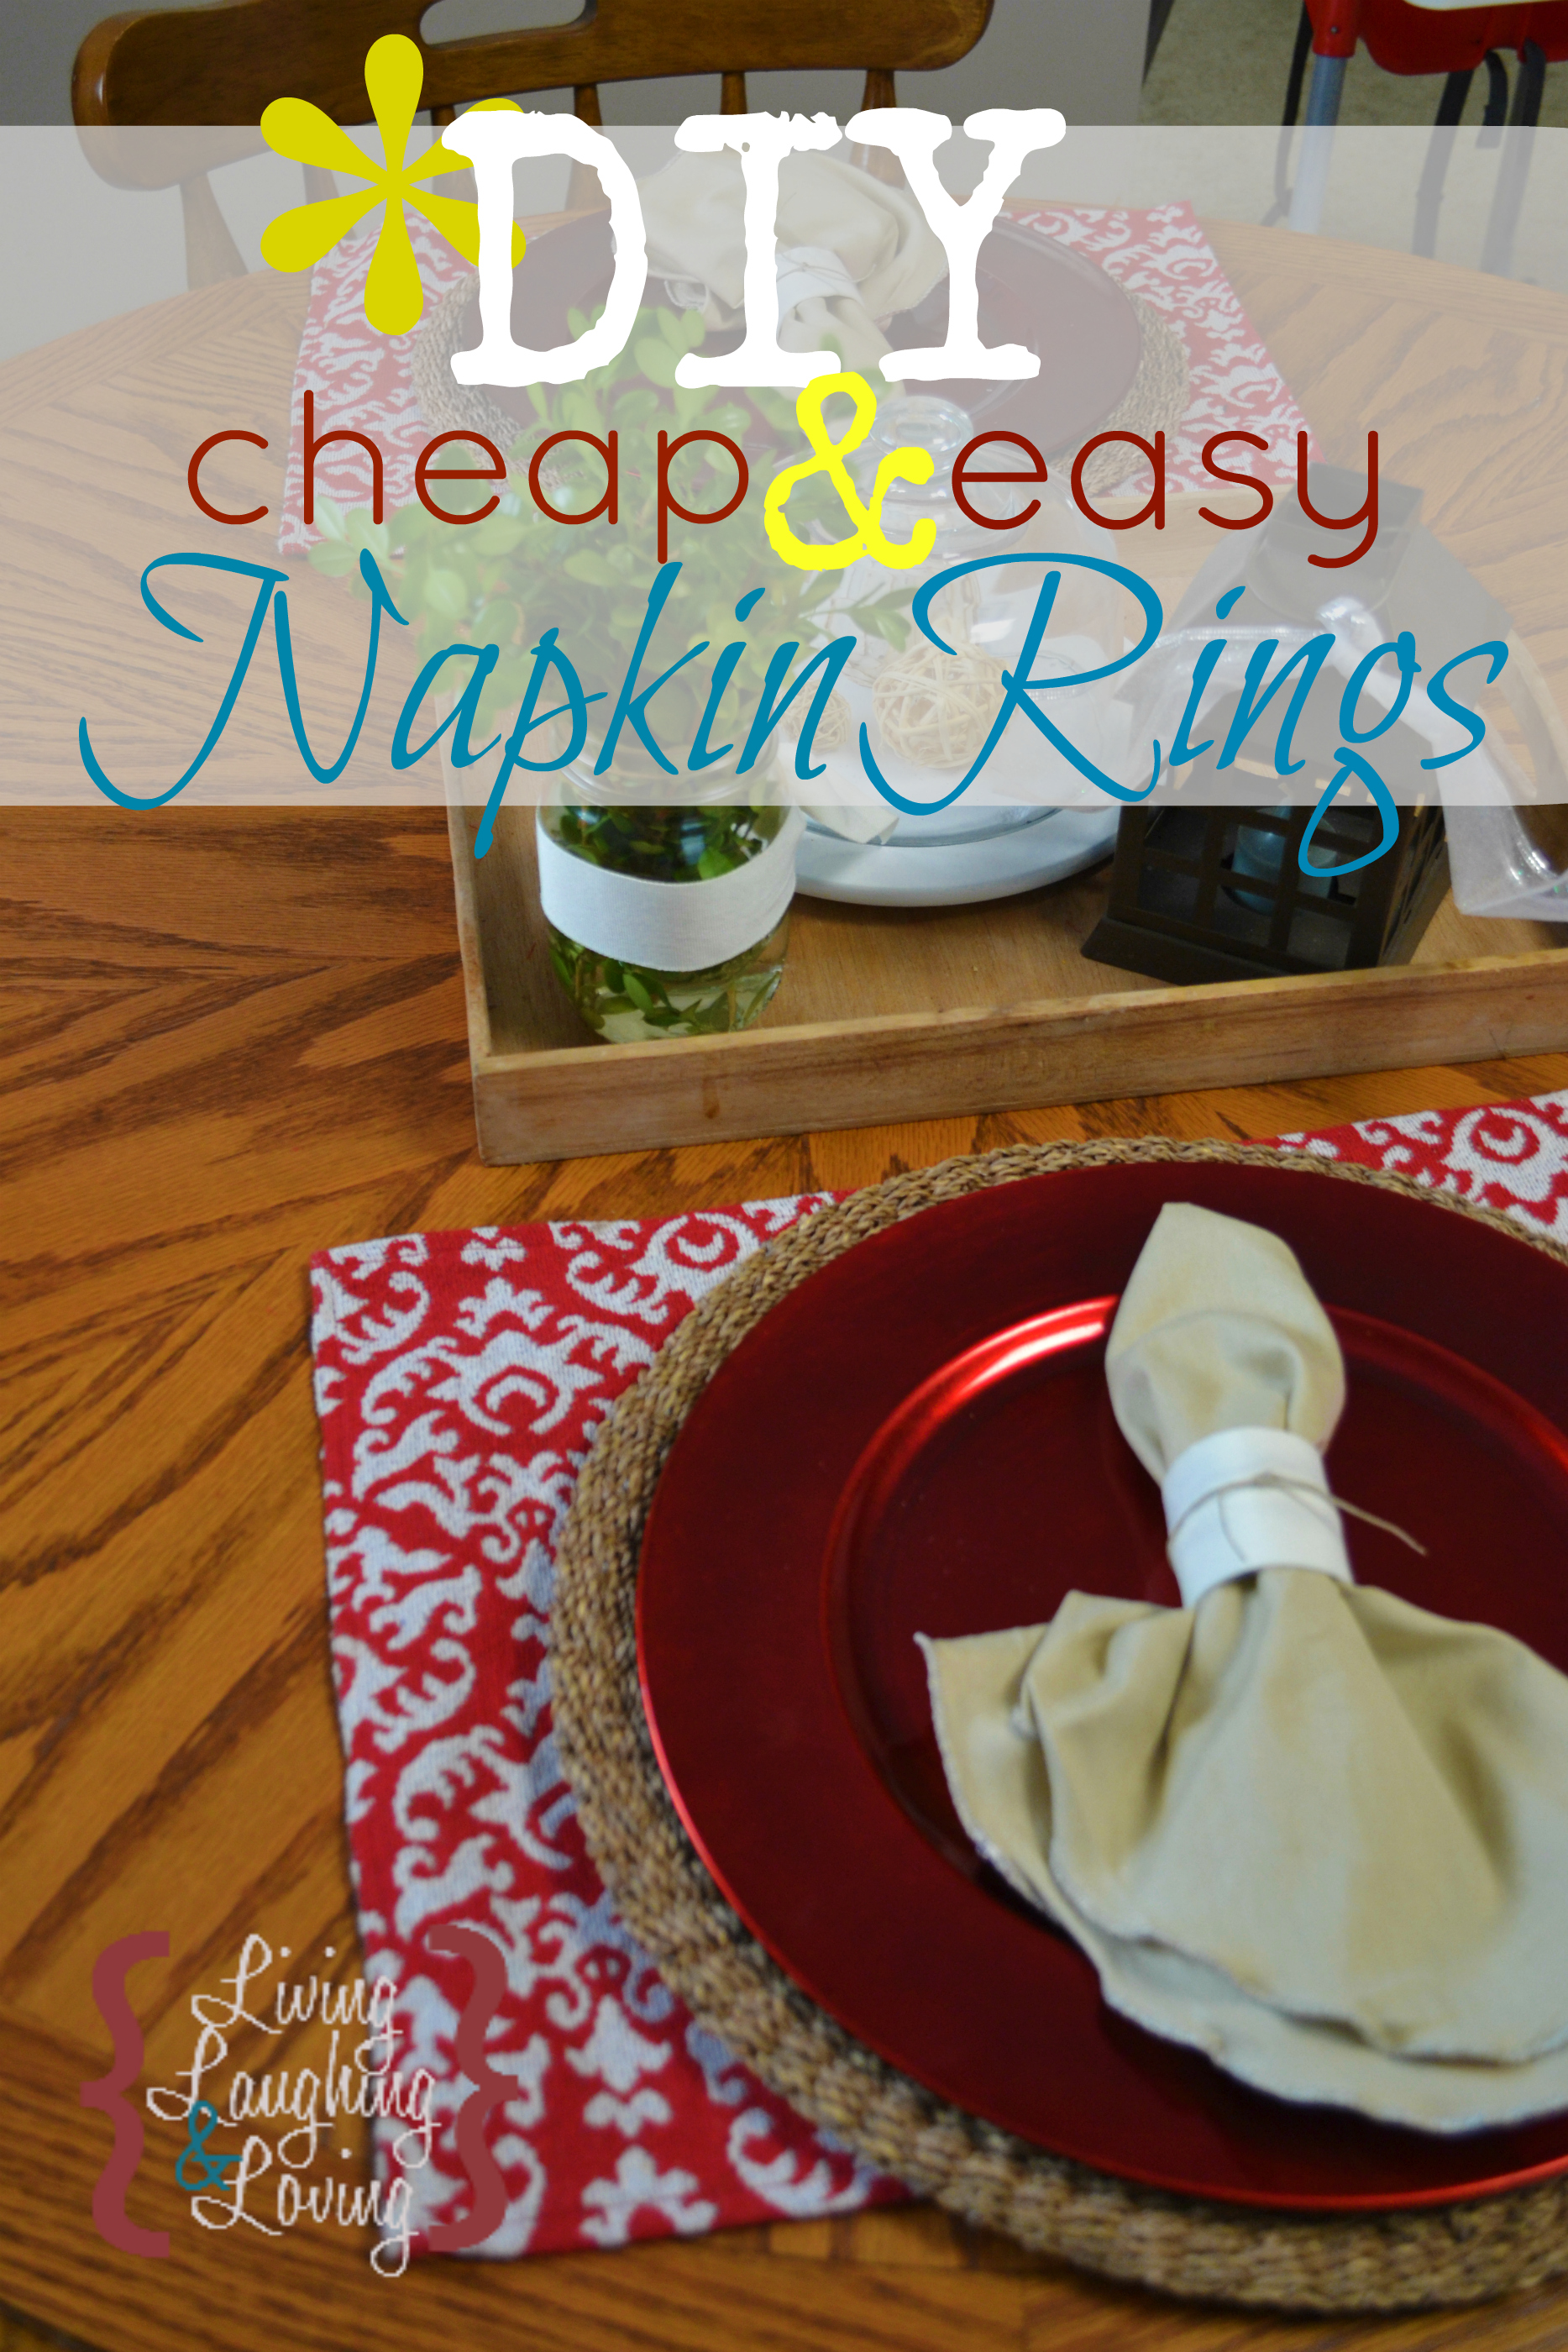
- Napkin Rings {F-R-E-E!}
That brings me to a grand total of around $6.10 for two complete “place settings!”
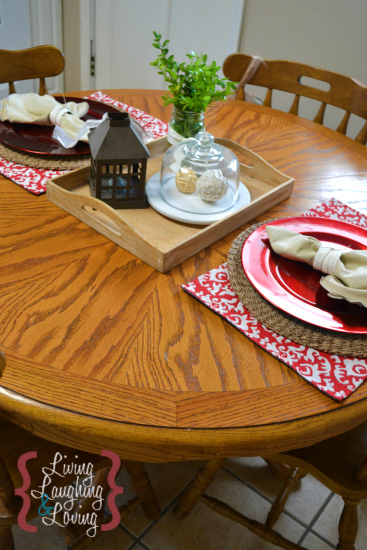
My centerpiece tray, the lantern, and the cloche were all thrifted finds too {of course}!
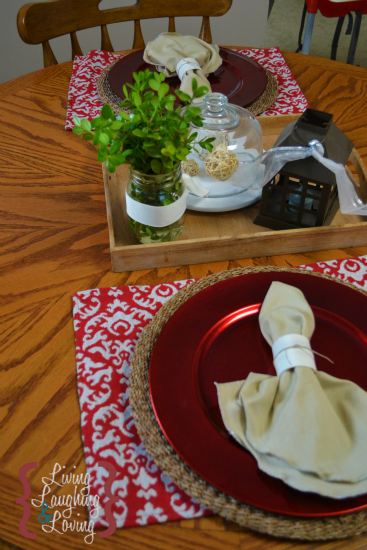
For a little something-something extra, I took a cue from blogland and clipped a bit from our boxwood bushes and put them in a mason jar wrapped in the same ribbon I used for the napkin rings. I LOVE the pop of color and bit of nature it brings in, and hello! It was free!
Now are you ready for a shocker? I clipped these babies OVER A MONTH AGO and they still look AMAZING!! Seriously!! No signs of brown, and confession… I didn’t even change or add to the water ONCE!
For a last minute, hover over the counter project, I think it turned out pretty well.
Hard to believe what you can do with a paper towel tube.
Anyone else with a great paper towel tube project? :)

*Sometimes I link up at these parties… Weekend Bloggy Link up, Tatertots & Jello, House of Hepworths,Bowl Full of Lemons,Organize & Decorate Everything, Not Just a Housewife, Funky Junk Interiors, Shabby Creek Cottage, Skip to my Lou,Today’s Creative Blog, the 36th Avenue, Thrifty Décor Chick, Home Stories A-Z, Five Days Five Ways, How to Nest for Less,Positively Splendid, Six Sisters Stuff, and Someday Crafts. You should check ‘em out!!















I have done this too with Toilet paper tubes. Although yours are prettier! I made mine skinnier and the think ones look great! Come by and visit us!
WOW!!! great project. Next time I am going to save the paper towel tubes
Woohoo! Renee is getting crafty! How come every time you get crafty it is always something I haven’t done before. :)
I don’t remember telling you about the upcycled toilet paper tubes – but I probably did! :) You did a great job with them! I need to make some – would be pretty to make some pretty patterned ones to go with a certain set especially since they would be almost free.
love the rattan round chargers too! I have been wanting some like that but just havne’t found them cheap enough yet :)
Your table looks so cute!
The look great!
I have read so many posts regarding the
blogger lovers however this paragraph is truly a nice piece of writing, keep it
up.